How to Tie a Falconer's Knot: Step-by-Step for Beginners
How to Tie a Falconer's Knot: Step-by-Step for Beginners
A falconer's knot has to do two opposite jobs at once: hold a bating bird safely on the perch, and come apart in a single pull when something goes wrong. Tie it well and it disappears into your routine. Tie it badly and you will find out at the worst possible moment — in the dark, in the rain, with a bird on the end of the leash. This is the version most falconers teach beginners: quick to tie, secure under load, and easy to release with cold fingers.
What the knot is for
This is the tie-off that fastens the leash to something solid: a perch ring, a block ring, a bow perch, or a tether point in the mews. It is not the connection between the jesses and the swivel. That is a separate job, and it should already be sound before you worry about this one.
The clever part is the direction of pull. Tension from the bird tightens the knot; a deliberate pull on the free bight releases it. That is why it is worth learning properly rather than reaching for a random double knot that holds well but has to be picked apart with your teeth. Most falconers tie it in leather leash, though the technique works on any cord of a sensible diameter.
Think of it as a safety knot, not just a tying knot. On a windy day, a red-tailed hawk bating hard against the leash will load the standing part hundreds of times. The knot must absorb that without creeping. But if the bird goes down and the leash snags, you need it to vanish the moment you get a finger through the bight. That is the balance you are aiming for.
Before you tie anything
Two minutes of checking saves a lot of trouble later.
- Run the leash through your fingers. Look for cracks, thin patches, or a stretched section near the end — leather tends to fail where it has been tied many times before.
- Check the swivel turns freely and both jesses are sound. A knot is only as good as what it is attached to.
- Make sure the ring or perch point is secure and not worn through.
- If the leash has been wet, expect it to swell and tighten. Retie it rather than trusting yesterday's knot.
- Keep a spare leash within reach.
If you are working with a new bird, do this check before you enter the mews, not while the bird is already on the fist and bating. Have your gloves on, your swivel closed, and your leash untangled. A few seconds of preparation is the difference between a calm tie-off and a wrestling match.
Tying it, step by step
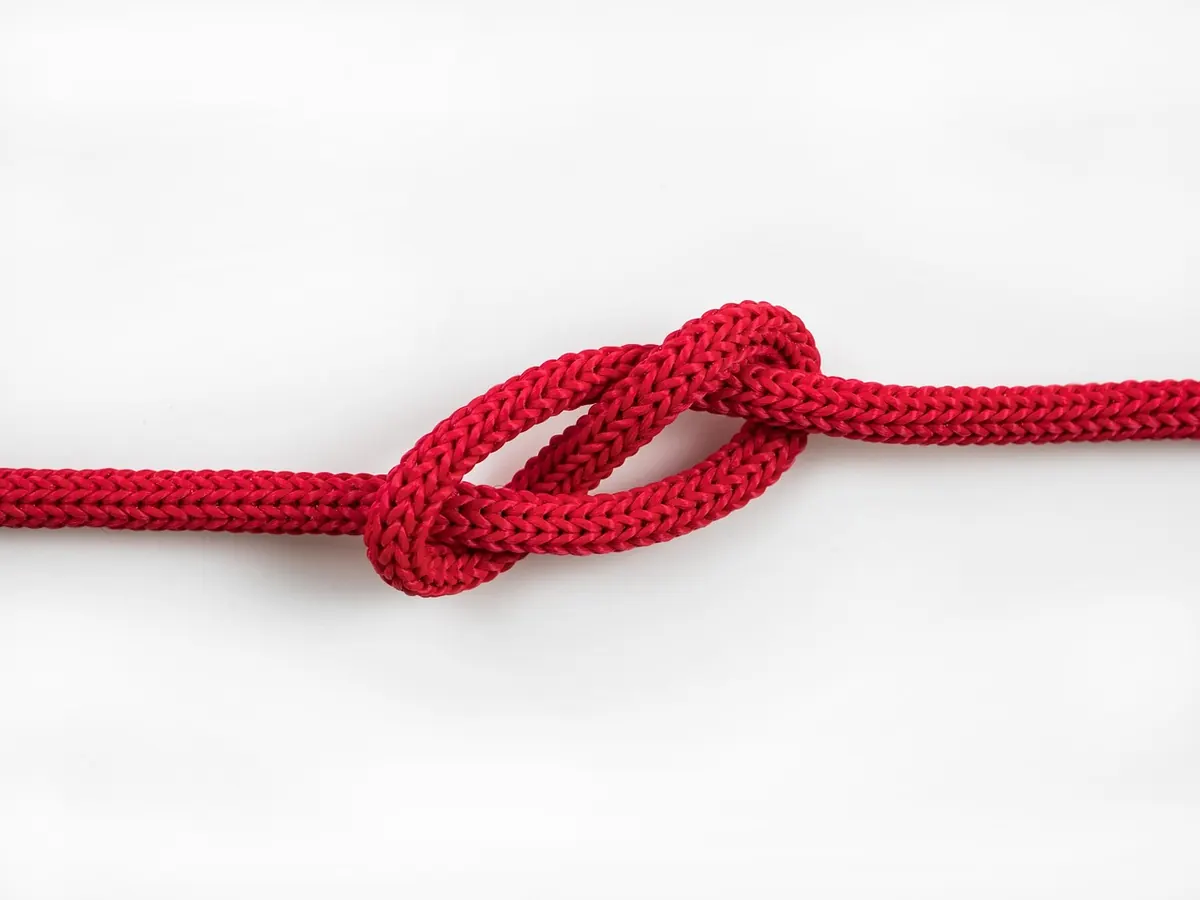
This version is two half hitches with the last one slipped. Tie it with the bird secure and the leash under light tension, not slack.
- Pass the working end of the leash around the perch or through the ring, front to back. Leave a working end at least a hand's width long — roughly 15 to 20 cm.
- Cross the working end over the standing part (the length running back towards the swivel) to form a loop.
- Take the working end around behind the standing part and bring it back through the loop. That is your first half hitch. Pull it snug against the perch.
- Repeat to make a second half hitch. Keep the two turns neat and side by side. If they cross over one another, undo and start again.
- This time, do not pull the second hitch tight by the tail. Instead fold the working end back on itself to make a bight — a loop about 5 to 8 cm long.
- Push that bight through the last loop and pull the standing part so the knot traps it.
- Bed the knot down firmly, leaving the bight standing proud and a tail of at least 5 cm past it.
Why the slipped second hitch matters
The first hitch does the holding. The second hitch, left slipped, does the releasing. If you tighten both hitches like a shoelace, the knot may hold, but you will be picking at it with numb fingers while the bird pulls. The bight is your handle. The short tail past the bight is your safety margin: it stops the bight from pulling all the way through and leaving you with a permanent knot.
A knot you cannot release under pressure is not a falconer's knot. It is a trap with a bird attached.
How to check it is secure before you fly
Do not rely on a glance. Test it.
- The tug test. Hold the leash a hand's width from the knot and pull firmly, in line with the standing part. The knot should not creep or slide. Then pull the free bight — it should release cleanly. If it does not, retie.
- The load test. With the bird secured, apply steady tension to the standing part as if the bird has bated. The knot should stay bedded against the ring without loosening. Do not jerk the leash; just lean into it.
- The release test. Before you walk away, pull the bight and confirm the knot comes apart in one motion. Then retie it. Do this every time until it becomes automatic.
- The tail check. The tail should be at least 5 cm past the bight. If it is shorter, the bight can pull through when the knot is loaded. A hand's width is better.
If any check fails, start again. There is no prize for saving thirty seconds on a knot that might cost you a bird.
How to release it one-handed
When a bird is bating, you may need one hand to control the bird and one to free the leash. The release should work with a single finger. Hook your index finger through the bight and pull steadily away from the knot, not upward. If the knot is wet and swollen, pinch the standing part and push the knot slightly toward the ring to break the friction, then pull the bight.
In the dark, do not fumble. Find the bight by touch: it should be the only loop standing proud of the knot. Pull it. If you cannot find it, slide your fingers along the standing part until you reach the knot, then feel for the tail. The bight is just above it. Practice this with your eyes closed so that your hands know the shape.
One more field trick: if the bird is pulling hard, do not fight the tension. Wait for the bird to pause, or take the strain on your glove hand, then release. A falconer's knot is designed to come apart when the standing part is not under maximum load. Pulling against a bating bird just jams it tighter.
Common mistakes and how they show up
- Two tight half hitches. The knot holds beautifully and refuses to release. Fix: make the second hitch slipped, with a clear bight.
- Crossed turns. The knot looks bulky and jams under load. Fix: untie and keep the two turns side by side, like a neat whipping.
- Short tail. The bight pulls through and you are left with a tight knot. Fix: leave a tail at least 5 cm, ideally a hand's width.
- Wrong direction. Passing the leash back to front instead of front to back can put the release bight on the wrong side. Fix: keep the bight where you can reach it with your dominant hand.
- Wet leather. Swells and tightens overnight. Fix: retie when wet, or swap to a dry spare leash. Never trust yesterday's knot.
- Worn leash. Fails at the knot because that is where the bending stress concentrates. Fix: inspect before every flight and replace tired leather.
Practice drills without a bird
You do not need a hawk to learn this. Tie the knot around a chair leg, a ring, or a carabiner. Do it twenty times in good light. Then do it with gloves on. Then do it in a dark room. Then do it with a wet leash. Time yourself: a useful target is under ten seconds to tie and under two seconds to release.
Next, add distraction. Have someone pull gently on the standing part while you tie. Then have them pull hard while you release. This simulates a bating bird without risking your hawk. When you can tie and release under those conditions without looking, you are ready to trust the knot in the field.
Choosing the right leash and ring
Traditional braided leather leash is forgiving: it grips itself, it beds down well, and it does not slip easily. Synthetic leashes can be slicker, especially when wet, so you may need an extra turn or a different tie-off. Whichever you use, match the knot to the material. A knot that works perfectly in leather can creep in nylon.
Ring size matters too. A ring that is too large lets the knot slide and chafe. A ring that is too small can trap the knot and make release difficult. Aim for a ring that lets the leash pass smoothly but keeps the knot seated. Check the ring for rough spots or sharp edges; they will cut through leather faster than any bird.
When to retie
Retie every time you attach the bird. That sounds excessive until you have seen a knot that looked fine in the morning fail in the afternoon. Leather stretches, swells, and dries. A knot that was perfect yesterday may be loose today. Make it part of your routine: attach, tug, release, retie. It takes seconds and it keeps your bird safe.
Also retie after any hard bate, any time the leash has been wet, and any time you notice the knot has moved or the tail has shortened. If you are ever in doubt, cut the tail and tie fresh. Leash is cheap. A lost hawk is not.
Final check before you walk away
Once the knot is tied, do the checks in
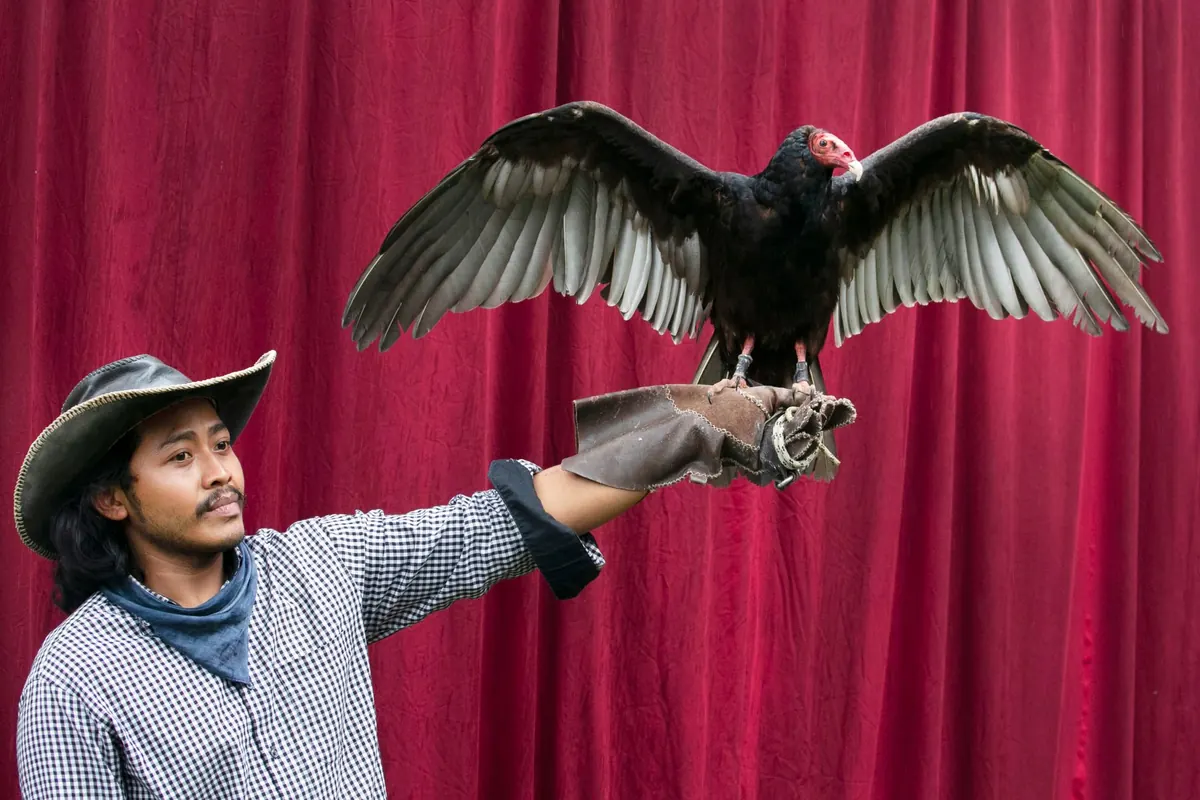
Photo: AlfLucio / Pixabay
Falconry Gift Guide: Presents for the Falconer in Your Life
A practical falconry gift guide: useful presents at every budget, how to judge leather and metalwork, and...

Flying Weight Explained: Reading Your Bird's Condition Safely
How to find and hold a working bird's flying weight, score condition by hand, and build a daily weighing...
About Us