Setting Up Your First Falconry Stand: A Beginner's Step-by-Step Guide
A freestanding stand looks like the simplest piece of kit you will ever buy: a base, an upright, a perch. In practice it is the piece of equipment your bird spends more time on than any other, and the details of where it sits and how it is fixed down decide whether your new hawk settles quietly or spends the first fortnight bating at every gust. Sort the stand properly at the outset and it becomes a calm, predictable anchor point in your day. Rush it, and you will spend the next month chasing problems that were built in from the first afternoon.
Pick the Position Before You Buy Anything
Stand on the patch of ground where you are thinking of putting it and just watch for ten minutes. Notice which way the wind is coming from, where the sun lands at midday, and what passes by. A useful stand position gives the bird a clear view, some shelter from the worst of the weather, and a dry surface underfoot.
In most of the UK, prevailing winds come from the south-west, so a hedge, fence or wall to the west and north of the stand is worth more than you might think. You are not trying to seal the bird away from weather; you are trying to take the sting out of it. A bird that is permanently battered by wind never fully relaxes.
What to avoid
- Low, boggy hollows where water sits after rain.
- Directly beneath trees, where wild birds perch, drop mess and give predators cover.
- The other side of a fence from a dog run, a public footpath or a busy road.
- Anywhere you cannot see the bird from the house or from where you work in the garden.
- Tight corners where the leash can wrap around a post, a tap or a drainpipe.
If you rent the land or share it, confirm you have permission before you start drilling or lifting turf. It is far easier to ask first than to explain later.
Prepare the Ground and Get the Stand Level
A rocking base is a bad base. It spooks the bird, it works fixings loose and it puts uneven load on the upright. Clear the footprint of turf and vegetation, then check the ground with a long spirit level rather than your eye.
For most garden setups, a simple hard standing works well: cut back the grass, lay a weed membrane, and fill with compacted gravel or lay a couple of paving slabs bedded on sand. This lifts the base clear of mud, gives you something solid to bolt into, and means you can sweep up droppings instead of scraping them off grass. On very soft or sloping ground, a small concrete pad is the honest answer. Mix it, level it, and leave it to cure properly before you load it.
While you are working, think about drainage and about your own access. You want to reach the bird comfortably in the dark, in the rain, and while carrying something. A stand that is awkward to approach is a stand you will neglect.
Secure the Stand So It Cannot Move
The stand must not move. Not in an autumn gale, not when a heavy bird bates against the leash, not when the ground is waterlogged. Choose the method that suits your surface and then check it seasonally:
- Screw-in ground anchors through the base plate, for firm soil or gravel.
- Bolt-down fixings into paving slabs or a concrete pad, using stainless or galvanised fittings.
- Ballast such as paving slabs or filled sandbags laid over the base, useful where drilling is not possible.
- Guy lines on very exposed sites, marked with something visible so nobody walks into them.
Test it yourself before the bird goes on. Put your weight on the upright and push sideways. If you can move it, the next strong gust will too. Frost heaves slabs upward, and wet ground softens around anchors, so re-check the whole assembly after the first hard frost and after any storm.
Fit the Perch, Swivel and Tether
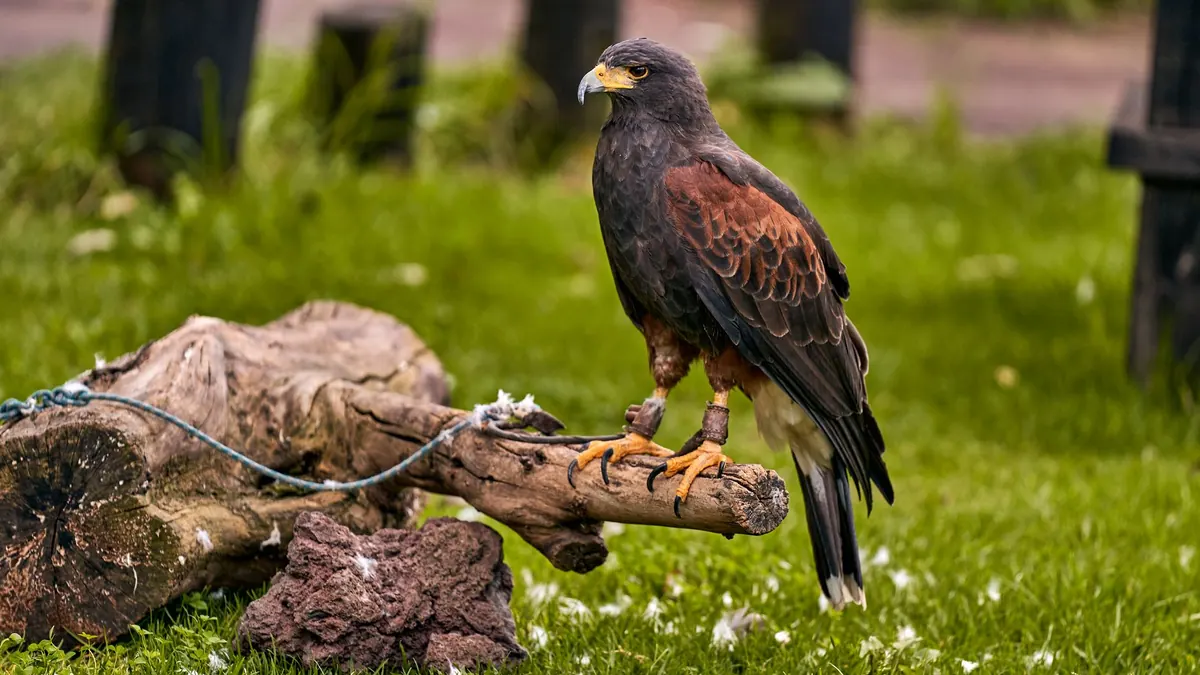
The perch itself should suit the bird. A bow perch suits birds that grip and is usually bound in plaited cord or fitted with a soft covering, which matters because hard, abrasive surfaces contribute to foot problems. A block perch is a common choice for owls and some other species. Whichever you use, inspect the covering regularly for splits and worn patches, and keep the surface clean.
The tether point
Position the attachment ring or swivel below the top of the perch, not above it. A bird can flick a leash over the top of a perch and hang itself; a low attachment point makes that far harder. A swivel should sit between the leash and the tether point so the bird can turn without twisting the leather.
Use leather, not chain. Check the leash length so the bird can step up and down and shift position, but cannot reach over the edge of the base, off a wall, or into anything it could tangle around. Keep jesses, leash and swivel in good order, and replace anything frayed, cracked or stiff. If you are unsure what is suitable for your species, ask an experienced falconer or your vet rather than guessing.
Daily Checks and Seasonal Maintenance
Maintenance is mostly a two-minute habit. Run through the following each time you are at the stand:
- Look at the jesses, leash and swivel for wear, fraying or stiffness.
- Check the perch covering for cracks, splits or rough patches.
- Clear droppings from the base and around the stand.
- Confirm the base is still solid and the fixings are tight.
- Make sure fresh water is available and clean.
Weekly, wipe leatherwork and treat it sparingly, and check every bolt and anchor. Seasonally, sand and re-oil timber, treat rust on metalwork, replace tired cord on the perch, and cut back vegetation around the base. Before winter, walk the stand with a spanner and a torch, and again after the first storm of the season.
Settling In and Knowing When to Ask for Help
A new bird on a new stand needs quiet company, not fuss. Spend short, calm sessions nearby so it learns that your approach is ordinary. Supervise closely for the first few weeks, and avoid leaving a bird tethered and unattended for long periods, particularly in poor weather or when you cannot see it.
Watch the droppings, the feet and the bird's general attitude. Anything that seems persistently off is a conversation with your vet, not something to wait out. For welfare, tethering practice or species-specific setup, take advice from a registered vet or an experienced falconer who keeps the same species. Get the ground, the anchor and the tether right now, and the rest of your falconry gets noticeably easier.
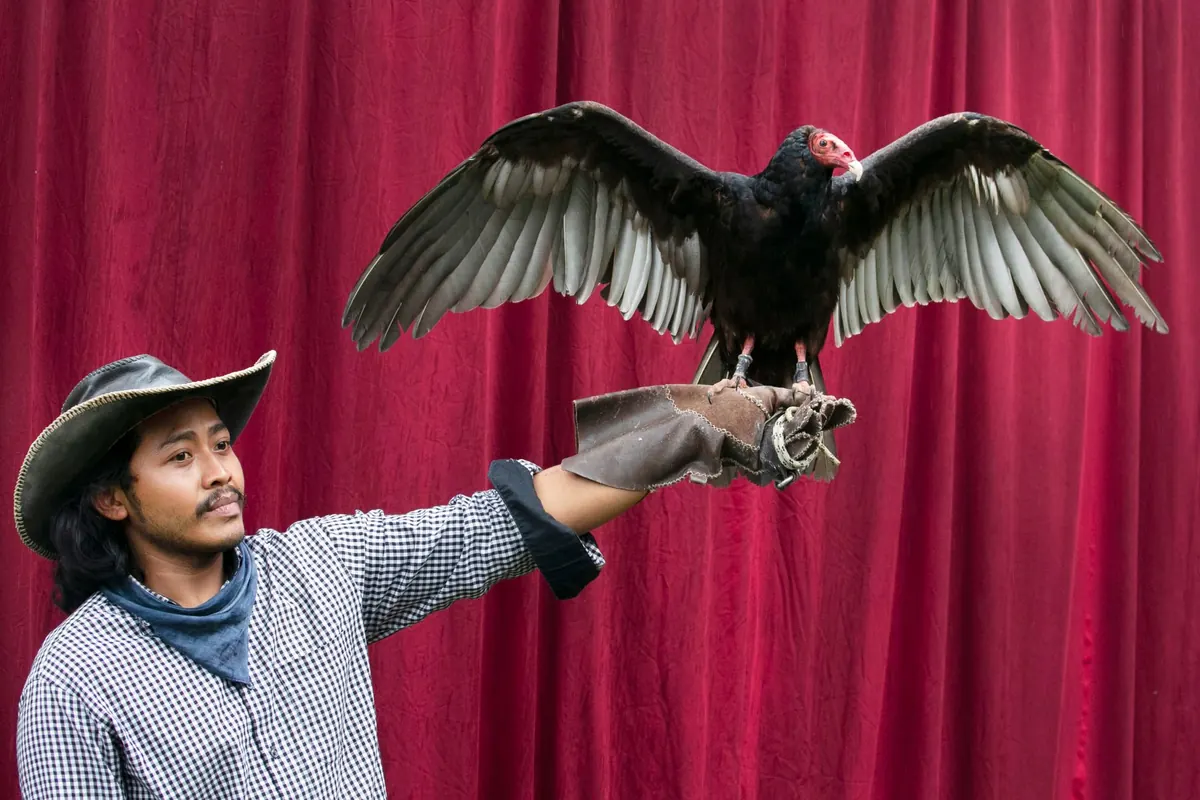
Photo: drippycat / Pixabay
Falconry Gift Guide: Presents for the Falconer in Your Life
A practical falconry gift guide: useful presents at every budget, how to judge leather and metalwork, and...

Flying Weight Explained: Reading Your Bird's Condition Safely
How to find and hold a working bird's flying weight, score condition by hand, and build a daily weighing...
About Us